
Photos and images get accumulated across multiple drives within a short period. Getting them in an organized manner is no longer an easy task. Adobe has come up with new software to organize your images and assets. This free software is called Adobe Bridge.
While it might be familiar to some, we wanted to take a closer look at everything this exciting software has to offer.

- Get 65% off Adobe software – Follow our Adobe Creative Cloud discount guide.
- Get 10 Free Stock Images from Adobe Stock — Royalty-free photos, illustrations and videos
What is Adobe Bridge?
Adobe Bridge is a boon to creative people who work with visual assets. It helps you keep your work organized by locating assets in various storage places. You can search for your files based on various file attributes. The attributes include rating, file type, or even camera settings.
Adobe Bridge is an application that is a part of the Creative Cloud. It helps you organize and manage images, videos, and audio files. It also helps you preview, search and sort the files without opening them in their native applications as well.
You can locate files using the Filters panel. You can also import images from your digital camera into the viewing area. It allows you to quickly rename and preview the files. Overall, Adobe Bridge helps you organize your files properly so you can save time in doing so.
Adobe Creative Cloud Discount – Get 65% Off

Before we dive into the best Photoshop courses, we should let you know that you can get 65% off Adobe by following our Adobe Creative Cloud discount guide or jump straight to how to get an Adobe student discount.
Features of Adobe Bridge
- A File Browser
Adobe Bridge can be used to download photos from a camera or a memory card. You can also use it to find the images from your system. This program lets you copy and move images from one location to another very easily. You can also create new, rename, and delete images. The basic function of a file browser can be done using Adobe Bridge.
- Locating your Design files easily
You will be able to locate the files easily using Adobe Bridge. This software has a unique tagging feature. This is the main reason that this tool can be used in the first place. You can locate the design files by going to the workspace,
-
- Click Edit -> Find.
- Choose a folder to search
- Enter the search criteria. For example, the starting name of the file, etc.,
The workspace will be listed with files that satisfy the search criteria. Select the file you were searching for.
- Renaming Files
One of the best features of Adobe Bridge is batch renaming. It is practically not possible to rename hundreds of photos by hand. Adobe Bridge comes with an easy-to-use Batch Rename dialog box. You can rename groups of files with great ease.
-
- In the Control Panel, select all the files that need to be renamed.
- Select the Batch Rename option from the Tools menu.
- Select the destination folder to rename the files.
- Select from the set of renaming options that is been provided by the software.
The Find and Replace command can also be used to rename files.
The Batch Rename feature in Adobe Bridge lets you quickly rename multiple files at once. Batch Rename is a more powerful feature and lets you rename your files after deleting the ones you don’t want to keep. There will not be any break in the naming sequence of the files. Otherwise, it might appear that some files are missing.
- Adobe Mini Bridge
Adobe Mini Bridge is one of the primary features that comes with Adobe Bridge. You will be able to open Adobe Bridge inside other Adobe programs that you are using. You will be able to customize panels in Photoshop that displays the media files directly in Adobe Photoshop itself. You will be able to drag and drop files from Adobe Mini Bridge into Adobe Photoshop.
- JPEG formats
Adobe Bridge will convert any image files that you have. You will be able to convert image files directly to JPEG with Adobe Bridge. JPEG image file format is supported by most social networking websites and mobile phones. It will be easier for you to share your images with your friends and family.
- Publish Assets in Adobe Stock
If you are an Adobe Stock contributor, you can link your account to Adobe Bridge. You can publish the assets to Adobe Stock from Adobe Bridge. Keywords that are assigned in Adobe Bridge are extracted automatically by Adobe Stock.
- Bigger Preview of Images
Bridge gives us other ways to preview the images. The Preview panel in Adobe Bridge displays a larger preview of the images selected. One of the best features of Adobe Bridge is the Full-Screen Preview mode. It helps you instantly go to the full-screen view of the image selected.
The Price of Adobe Bridge
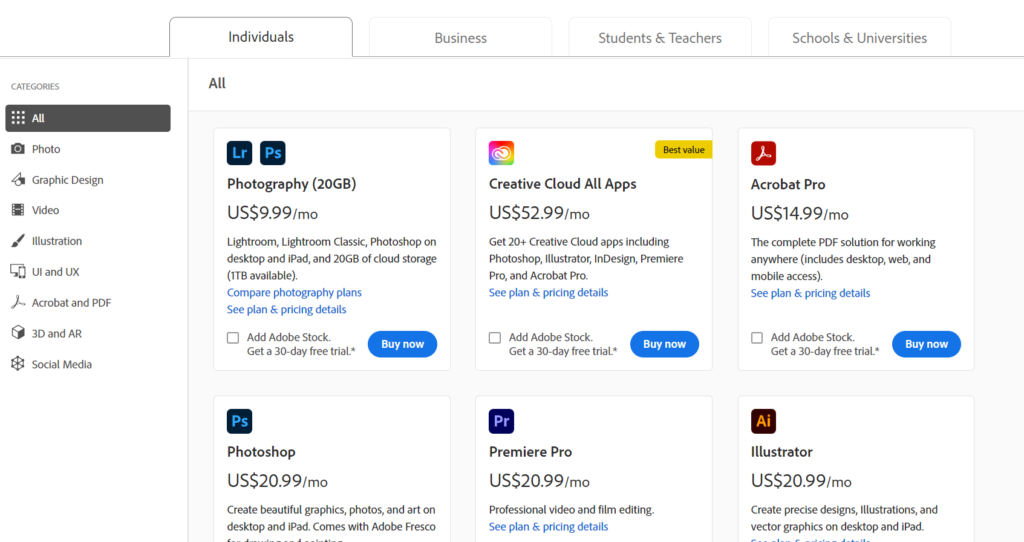
Adobe Bridge cannot be purchased as a stand-alone product. It is included as a part of the Adobe Creative Cloud plans. This plan can include all the CC applications like Photoshop, Illustrator, etc.,
When you go in for the Adobe CC plan, it comes along with free cloud storage. The price ranges from US$9.99 to US$69.99 per month. Adobe also provides you a discount for customers who pay for a whole year at a time.
For more information regarding Adobe’s Creative Cloud plans, click the button below:
System Requirements
The latest version of Adobe Bridge works on both Windows and Mac Operating Systems. Make sure your system has the minimum requirements for the software. This will help you run Adobe Bridge smoothly.
macOS
| Processor | Intel 5th Gen or AMD equivalent |
| Operating System | Microsoft Windows 10 or later |
| RAM | 4GB |
| GPU | 2GB of GPU VRAM |
| Storage | 2 GB of available hard-disk space for 64-bit installation |
| Monitor | 1280 x 800 resolution |
Windows
| Processor | Intel 5thGen or newer CPU. |
| Operating System | macOS v10.14 or later |
| RAM | 4GB |
| GPU | 2 GB of GPU VRAM |
| Storage | 2 GB of available hard-disk space for 64-bit installation, plus additional free space required during installation. |
| Monitor | 1280 x 800 Resolution |
The Interface of Adobe Bridge
Though Adobe Bridge comes with Photoshop software, it is a separate program of its own. You can open Adobe Bridge the same way you open Adobe Photoshop or any other program.
Click the Start menu and select Adobe Bridge from it. Adobe Photoshop need not be open for you to open Adobe Bridge. But you will be able to open Bridge from Photoshop.
- In Photoshop, open Bridge by choosing File->Bridge.
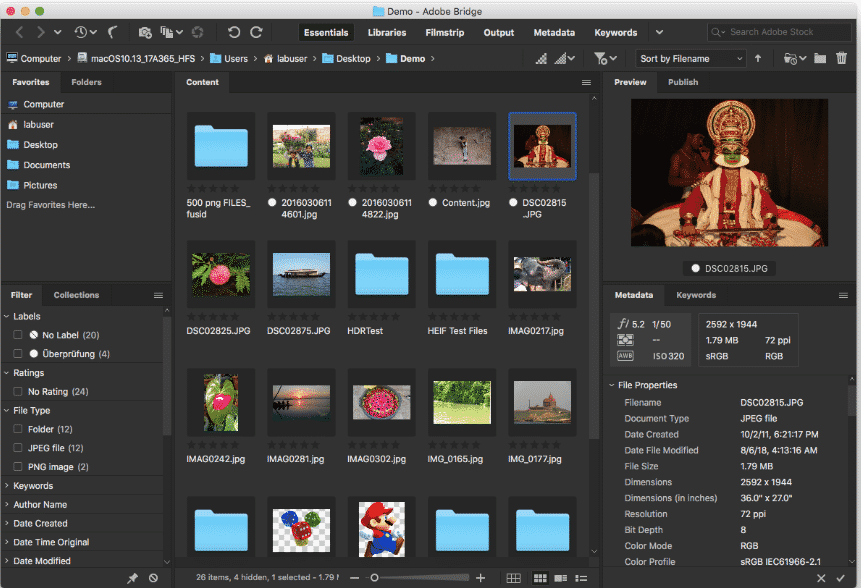
Adobe Bridge interface is made up almost entirely of panels. The Folder panel in the interface lets you navigate the local folders on your computer. Inside the Folders panel, you have the Favorites panel. This panel gives access to the folders and directories you use the most. At the center of Adobe Bridge, the Control Panel displays the thumbnails of the images stored.
How to Use Adobe Bridge to Organize Content with Ease!
Adobe Bridge helps reduce the gap between other Adobe programs. It helps you organize your images better. This happens when you can upload all the images created in various apps into a single program named Adobe Bridge.
In a way, Adobe Bridge will help you with all the projects in Photoshop, InDesign, Illustrator, After Effects, and Dimension. You will be able to open any project from any Adobe software without any compatibility issues
You will be able to
- Add dynamic video thumbnails.
- Combine various tasks and connect them in a single workflow.
- Manage Adobe Substance 3D materials in Adobe Bridge.
- Launch videos for editing in Adobe Premiere Pro.
- Transcode in Adobe media encoder.
There are three basic steps to import files in Adobe Bridge
Step 1: Create Folders to import Photos
- Create folders in Adobe Bridge
- Click the Start menu.
- Type the word “Adobe Bridge” in the search box.
- The Adobe Bridge workspace opens up for you.
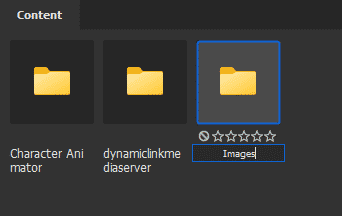
- Right-click on the blank workspace and select the option “New Folder”.
- Name the folder in such a way that it represents the content of the folder.
Step 2: Import Photos in Adobe Bridge
- Plug your camera into the USB drive of your system.
- The camera will appear as a separate drive on the system.
- Copy all the photos or the desired photos in the camera folder
- Navigate to the folder you created in Step 1.
- Paste the photos here.
Step 3: Use the Batch Rename option to rename files
- Navigate to the destination folder where you have copied all the images.
- Select the Batch Rename tool from the Tools panel.
- The Batch Rename window appears. Confirm the Rename in the same folder option.
- Make sure the New File names boxes indicate the name as desired.
Frequently Asked Questions
How Adobe Bridge is useful?
Adobe Bridge is a useful program to view your photo in the form of thumbnails. You can work with various combination of files across different softwares such as Lightroom, InDesign and Dreamweaver. Adobe Bridge can be used to sift through the content without the need to open the programs.
Are the assets in Adobe Bridge cloud-based?
The Adobe Bridge is not a cloud-based program.
Related Posts
- Adobe Stock Alternatives – Top 10 Choices for 2022
- Best Adobe After Effects Alternatives
- Best Adobe XD Alternatives
- Best Adobe Acrobat Alternatives
- Best Adobe InDesign Alternatives
Use Adobe Bridge to Organize Content – Here’s How
Adobe Bridge is one of the powerful programs within Creative Cloud. If you are a creative professional, this program helps you manage your assets. Asset management is an important feature of the program. You can use the Camera Raw plugin to edit the images. This will help you with a more simple workflow for basic edits.