There are good ways to start a website, and then there are better ways.
When it comes to building your brand, what many people don’t understand is that getting off on the right foot is half the battle. If your site isn’t supported by the right tools and software, you might be setting it up for failure.

This is why I generally recommend WordPress as the perfect platform to set up a blog or website, especially for small to mid sized businesses. It’s easy to set up, easy to manage and is very powerful.
I’ve been asked dozens of times so here’s my step-by-step walkthrough of how to set your own WordPress site up for success, along with a great deal.
It’s really simple to set up and will take less than 5 minutes, no joke!

Step 1: Select a Hosting Account
Hosting is a must-have. Why? You’ll need a large amount of digital space to store all the images, text, and other files that will make up the core of your website.
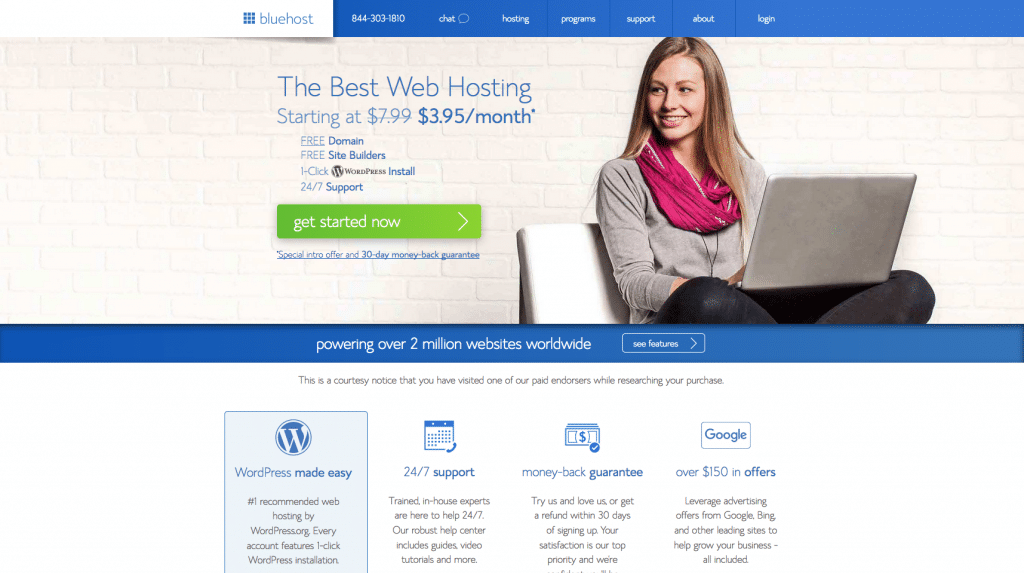
I recommend to my clients to host their website with BlueHost (as does WordPress themselves) as they give you a free domain with the purchase of an account, plus it’s the perfect price point for a small to mid-sized business. Plus they have great support and performance. See here for other top web hosts.
To get your hosting set up, go to Bluehost.com and click the “get started now” button (see above). The next page will allow you to select from a few different packages. If you’re not sure which one you need, just select the cheapest plan – Basic. You can always upgrade to a bigger one later once your site needs more capacity.
*Special Partner Promo*
Just Creative readers can get BlueHost’s most popular plan for just $3.45/month instead of $7.99. Click here to get your website & hosting set up.

Step 2: Choose Your Domain
This is the fun part. Choosing your domain comes hand-in-hand with choosing the name of your blog, brand, or business… so choose wisely!
If you already have a domain, see here on how to transfer the domain.

Type your selected domain into the “new domain” box and hit “next”. A notification will pop up if the domain is unavailable, so make sure to test it out before getting too attached to a URL.
After choosing your domain name, the next step is simply to fill out your account, package, and billing information.
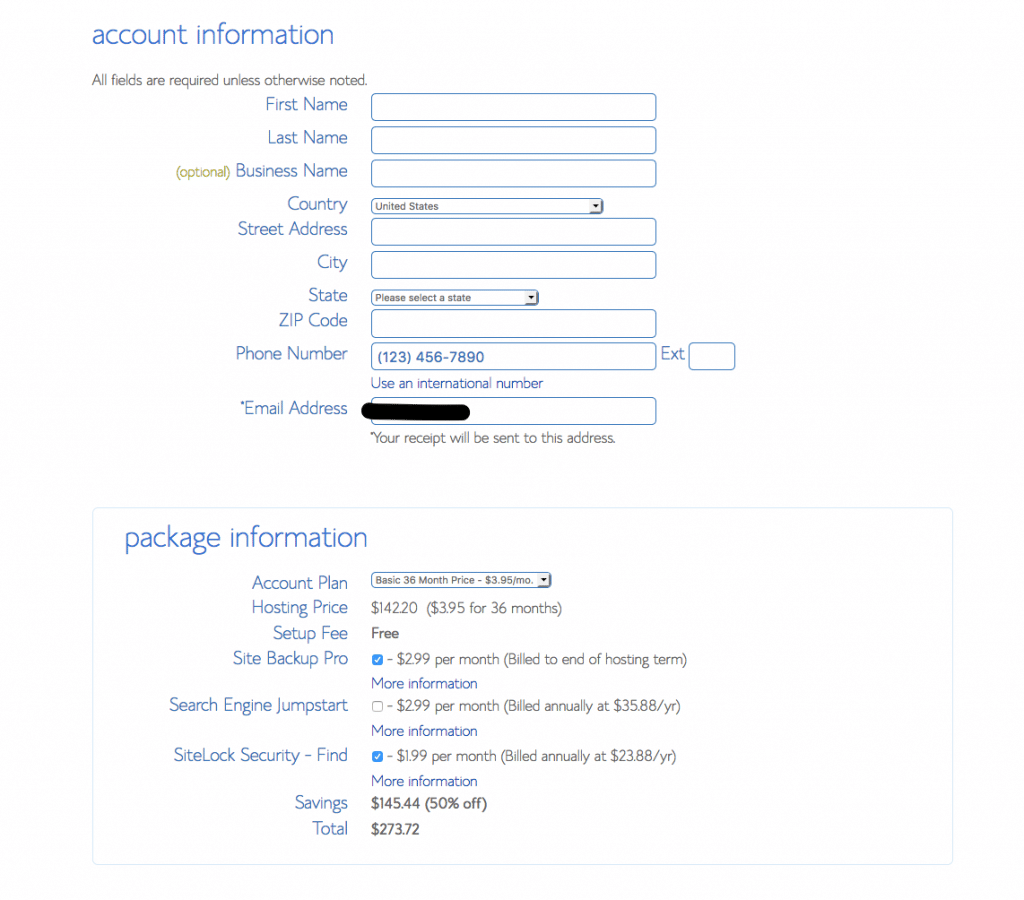
Pay special attention to the package section as this is where you’ll choose the length of time you want to pay for.
After you’ve filled in your billing information, hit “next”. You’re already almost there!

Step 3: Install WordPress
Last piece of the puzzle? Installing WordPress & picking a theme. I don’t take WordPress lightly – it can significantly improve your online experience and I manage all my websites with it.
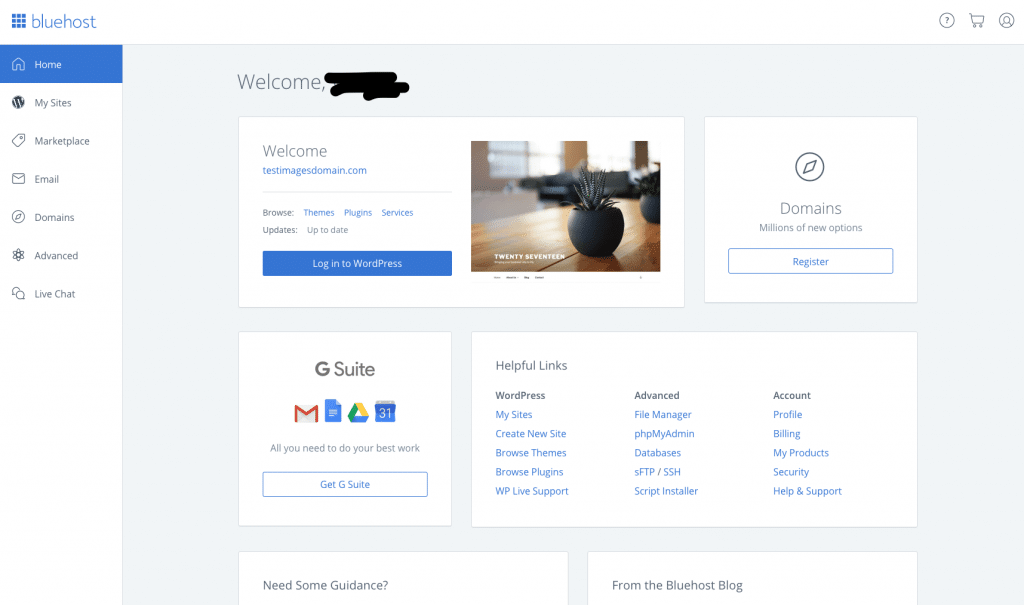
After you’ve logged in to your new Bluehost account, go to your dashboard and find the “Install WordPress” button or if already installed, pick a suitable theme.

This will take you to MOJO Marketplace where you can click “Start” to begin the download process.
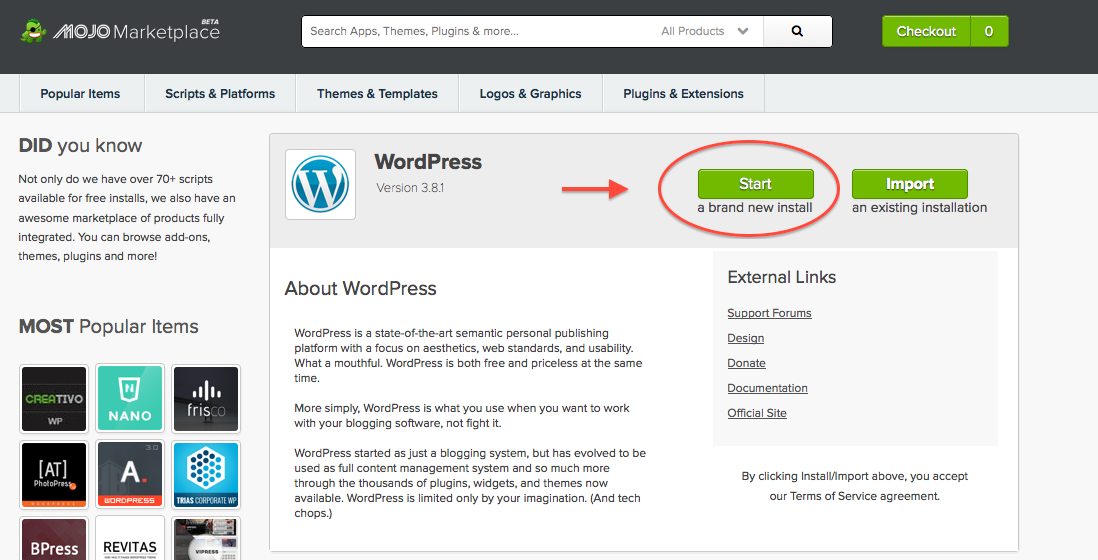
Now you’ll simply need to select the domain you are installing WordPress on and hit “Check Domain”.

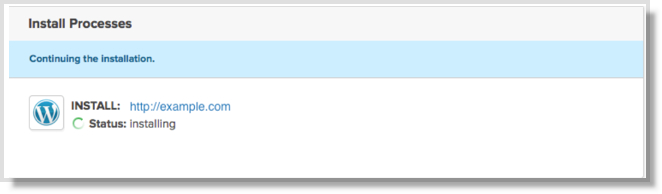
Last of all, enter in the name of your blog, your preferred username, a secure password, and your email address. Click “Install Now”.

Now the installation is ready to go!
Step 4: Install Themes & Plugins
Easy, right? Your new site is up and running. Your next step is to choose a theme. I recommend MOJOThemes which is integrated into BlueHost. Browse and download a theme there, then install the theme (instructions will be inside the theme). After installing, add the appropriate plugins for your site. See my post on the Top Essential WordPress Plugins and you’re golden. Let me know if you need help!

Your site is now ready to be infested with good, quality content!
I am so thrilled I found your weblog, I really found you by mistake, while I was researching on Google for something else, regardless. I am here now and would just like to say thank you for a tremendous blog post and all round thrilling blog (I also love the theme/design), I don’t have time to browse it all on time, but I have bookmarked it and also added your RSS feeds, so when I have time I will be back to read a great deal more.
Yeah! It really works. Thanks for this information.
This was a rather simple tutorial on how to make a website.
Thank you a lot 🙂
Hi Sir, I have already wordpress install in server but i no know how to create database and wp-admin in server please help me as soon as posible….
I am waiting for reply…..
Perfect posts to start with if you are looking for creating a new website I am sharing this on twitter and my fb group. You will also need analytics tool to track the traffic and my personal favorite is Gostats.
Super helpful and informative information. Thanks for laying it in detail and quickly to the point.
Yeah! It really works. Thanks for this information.
Really nice post to start blogging. This article is very useful. I saved it into my bookmarks. Thanks For Sharing This Useful Information .Would come back to visit soon, again Thanks.
Some good stuff here! It always sounds easier than it is and its different for every site and every niche, but hey that’s the art and creative part of it! 🙂 Your steps are a good guide to get people going for sure. Especially the part about starting slow an don’t giving up, that’s were most people miss it I think. These free step by step videos on how to build the website itself using WordPress might be helpful too: http://newleafwebsitedesign.com/how-to-make-money-building-websites-101/