
This article has been contributed by Anthony Powell.
Almost all of us have had to create and deliver presentations at some point in our careers. Some of us – especially creatives – need to do it all the time to win pitches and present work.
But coming up with winning presentations can be time-consuming. Bringing together the components needed to make a compelling presentation requires a ton of planning.
Some presentations aim to persuade an audience to take action. Others propose beautiful design ideas. Whatever the case, the last thing you want to do is package your ideas in a drab, uninspiring presentation.
Today, we’re going to show you a few tips and tricks for creating outstanding presentations to help you wow your audience and leaving them in awe. There are 4 main areas you’ll need to address:
- Best practices for creating presentations
- Presentation software – alternatives to Keynote & PowerPoint
- Presentation templates
- Tech tips
Top 10 Best Practices for Creating a Winning Presentation
We could go on and on about how to make a captivating presentation, but we’ve boiled it down to six major points.
1. Know Your Audience
“It requires wisdom to understand wisdom: the music is nothing if the audience is deaf.”
Walter Lippman, American Writer, and Political Commenter

Are you presenting to a board of directors, an auditorium full of clueless potential customers, or a classroom of students who are as nervous about presenting as you? Before brainstorming ideas for your presentation, ask yourself the following questions:
- Who am I presenting to?
- What problems are they facing?
- What can I do to solve those problems?
- What’s the best way to reach out to them?
- Will they resist and how?
2. Design High-Impact Slides
Don’t be afraid to let your creative juices flow. Planning a presentation involves coming up with a template or design that you think will appeal to your audience the most. Remember, designing is to create order out of chaos. The more thought that goes into the presentation’s design, the less chaos and misunderstanding there will be.
Here are a few things you can do to design slides that will leave an impression:
- Use easy-to-read fonts (e.g. Arial vs. Blackladder ITC)
- Use contrasting colors (e.g. dark background, bright text)
- Respect the margins
- Use drawing guides to maintain symmetry
3. Maintain Font and Color Consistency
The best templates maintain a flow of consistency from the first slide to the last. Being consistent in the layout and design of your presentation template can pique the audience’s interest and increase understanding.
Best Practices For Fonts
- Use a maximum of three legible fonts
- Choose a big font size
- Use different sizes for headings and subheadings
Best Practices For Color
- Stick to a consistent color scheme
- Use a theme-appropriate color scheme
- Make use of color opposites and different shades
4. Focus on Key Ideas
“Lack of direction, not lack of time, is the problem.”
Zig Ziglar, American Author, and Motivational Speaker

When it comes time to write the text, take your time to identify key takeaway ideas and build them up. Keep the points as simple as possible so that your audience understands what action or actions they should take. Every sentence in your presentation and every word you say should have a purpose.
Oftentimes, we find that words impede the message you’re trying to convey. Please note that visual elements like charts, graphics, and even videos can drive your point more easily than text.
5. Avoid Huge Walls of Text
The quickest way to lose the audience’s interest is to bombard their sight with huge walls of text.
Before you utter a single word, if you show them a slide containing more than 40 words, you’ve already lost. They’ll be daydreaming about the joyous moment they can exit the room and relieve themselves of your depressing presentation tactics.
So, how do you keep your slides within the 40-word limit? Take these following tips into the heart:
- Avoid paragraphs
- Use short sentences to highlight key points
- Use visuals to emphasize the main idea
- Use contrasting font sizes
- Create more slides with fewer words in each
Please remember that fewer words in each slide will allow you to add larger, more eye-catching text. Bigger is definitely better when it comes to presentation text.
6. Use Audio and Visuals When Absolutely Necessary
Even though different media content like audio, charts, and videos can captivate audiences, there’s such a thing as too much. Nobody likes looking at boring chart after boring chart, watching 60-second videos every other slide, or listening to the repetitive ding every time you change slides.
Presentation Software (Including Alternatives to PowerPoint)
For most of us, PowerPoint is the go-to presentation software because, well, we don’t know anything else. That’s not a problem at all. In fact, even in the business world, companies rely solely on PowerPoint to present proposals and sales pitches.
PowerPoint has its fair share of advantages, from its simplistic interface and abundance of features. The main downside of PowerPoint comes from users’ inability to create compelling slides with meaningful content.
However, if you’re interested in learning other presentation software, consider checking out the following PowerPoint alternatives.
Canva

Image source: canva.com
Canva has a minimalistic interface to help users create enthralling presentations with as few visual annoyances as possible. The free plan features over 8,000 attractive templates and drag-and-drop stickers. Canva was designed with designers and artists in mind, and it shows from the comprehensive built-in photo editor.
There are two subscription-based plans: Canva for Work ($12.95/team member/month) and Canva Enterprise (custom pricing). Both of these plans offer unlimited storage and administrative control for team leaders.
Pros
- Huge library of ready-to-use templates
- Versatility, used for making presentations, brochures, infographics, and much more
- User-friendly interface with in-depth how-to videos to get started
Cons
- Long list of visual elements makes finding the right one difficult
- Labeling and tagging images can be tricky
- No unique elements (pre-defined shapes)
Google Slides
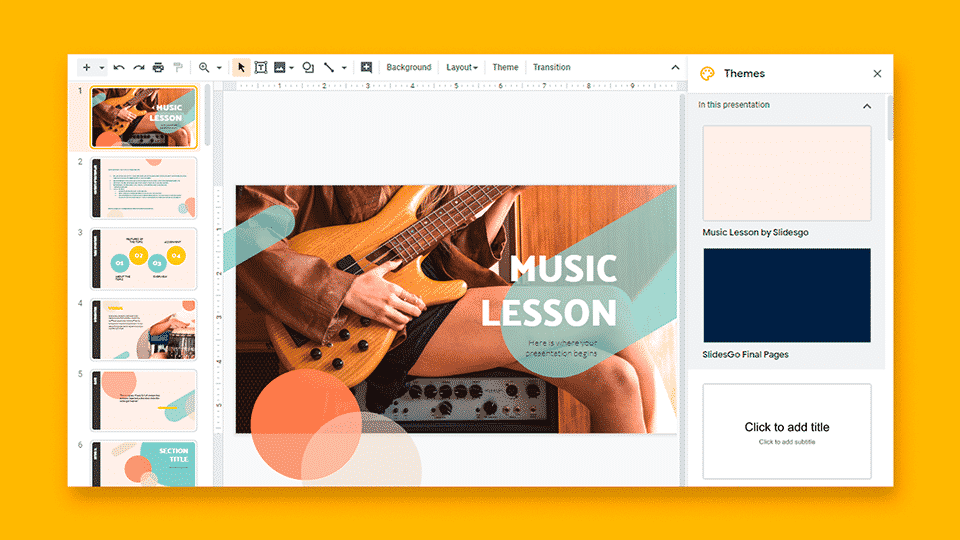
Image source: glints.com
Google Slides is probably one of those parts of Google Drive that very few of us use for reasons that are beyond us. Google Slides offers a similar set of features to PowerPoint but has the benefit of allowing real-time collaboration between connected members. Simply share the link with other members, and your team can begin creating and editing slides from your respective devices.
Google Drive is free to use, provided you have a Gmail account. The free version of Google Drive gives each user up to 15GB of free cloud storage. If you opt for Google Workspace, it can cost your company as little as $4.20 every month to custom-make a company domain.
Pros
- Free version offers all features you need
- Real-time collaboration to edit shared files
- Auto-save, so your data is never lost
- Offline functionality
Cons
- Limited themes, animations, and transitions
- Importing to Google Slides results in formatting loss
- Google restrictions in many countries
Prezi
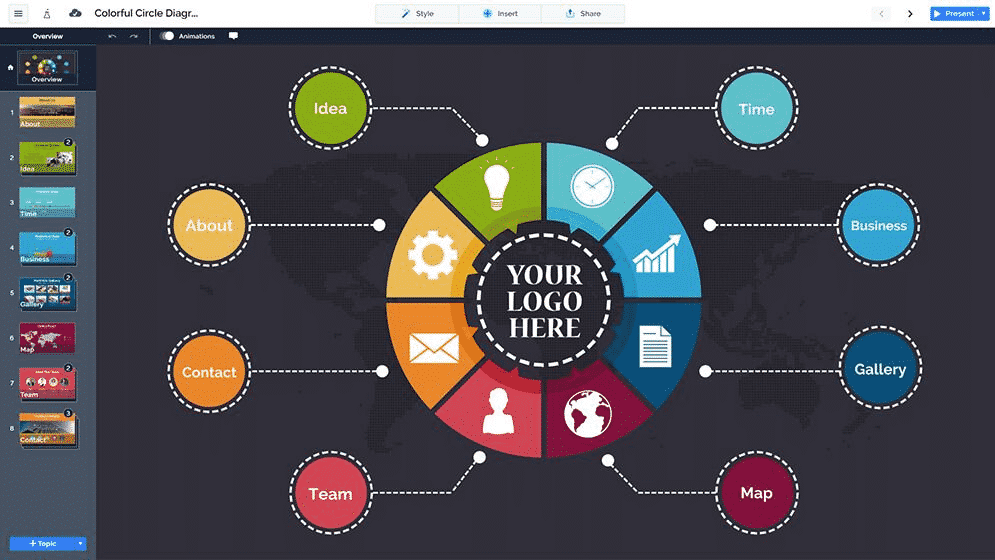
Image source: pinterest.com
Prezi is arguably the most popular PowerPoint alternative of them all. It’s a highly interactive program that places emphasis on learning and business. Its shining feature is Zoom Reveal, which zooms into different objects to uncover important details as you elaborate key points.
There are three paid plans, ranging from $3 to $59 per user per month. It’s highly recommended that you purchase one of the paid plans unless you don’t mind sharing your presentations with the public.
Pros
- Most visually-appealing presentation maker
- Uses analytics to optimize future presentations
- Real-time collaboration with connected users
Cons
- Steep learning curve
- Slow loading times
- Can cause dizziness when zooming in and out
Visme

Image source: visme.co
Visme uses a drag-and-drop dashboard design that makes creating presentations a snap. This tool stores all of your files in its cloud storage and generates shareable URLs where users can open or download your presentation file.
This web-based presentation maker also lets you record voiceovers (great for students and designers), collaborate with connected team members in real-time, and gathers analytics that you can access via the Dashboard. Visme offers three paid plans—Standard for $15/month, Business for $29/month, and Enterprise with custom pricing.
Pros
- User-friendly interface, great for novices
- Rich library of templates, clipart, and stock images
- Plenty of customizability
Cons
- PC Browser-based only, no desktop app or mobile device compatibility
- Lag spikes and even crashing
- Standard plan only offers 250MB of storage
Where to Find Presentation Templates
Aside from the inbuilt templates that come with your chosen software, you can easily find creative business presentation templates online.
Depending on your budget, graphic designers specializing in brand strategy can design tailor-made templates as part of a comprehensive brand identity.
If you don’t have much to spend, don’t be afraid to give free template designers a chance; you’d be surprised how detailed their work can be. Sites like SlidesGo offer creative templates for business, social, and educational purposes that are compatible with PowerPoint and Google Slides.
Tech Tips for Creating Presentations
We’d be remiss if we didn’t at least mention the importance of checking your hardware before you begin your presentation. Here are a few things you can do to ensure your presentation goes by without a hitch.
Tip 1: Examine the Audiovisual Equipment

Before the day of your presentation, take some time out to evaluate where you’re going to present. If your office has a meeting room, examine the overhead projector, microphone, speakers, and other audiovisual equipment in the room. Speak with technicians that can help iron out any problems that you notice.
Tip 2: Check Your Hardware
Don’t expect your audience to sit around and wait while you install those annoying Windows updates. Also, take some time to see whether your laptop or tablet is working properly. Does your laptop’s battery hold a charge, or do you need to keep it plugged in? Do you need spare batteries for your laser pointer?
Tip 3: Store Backups of Your Presentation File Everywhere
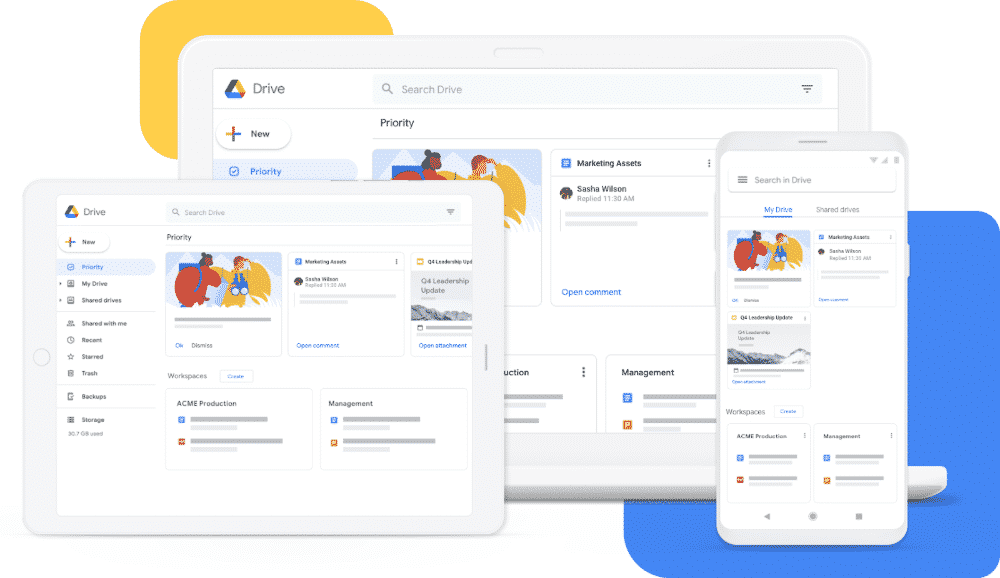
Image source: google.com
The worst thing that can happen on the day of your presentation is you forget to bring the presentation file. Even if you have it stored in your hard drive, you could accidentally lose it one way or another.
Do yourself a favor and make several backups of your presentation file (and other important documents while you’re at it). Send a copy of the file to your email, save it Google Drive or Dropbox, send it to a trusted person via an instant messenger where you can easily re-download it.
One huge benefit of storing your files in a cloud-based system is that you can share documents with others. That way, your audience can refer to your presentation file in the future when contemplating what action or actions to take.
Tip 4: Print Hardcopies for Every Participant

Worst-case scenario, everything goes wrong on your big day. Perhaps there’s something wrong with the audiovisual equipment or maybe a majority of the invited participants couldn’t show up. The best thing you can do is print out hard copies of the file for each participant before you need to deliver your presentation.
Here’s how you can convert your PPT files into PDF for easier printing:
In PowerPoint
- Click File
- Click Export
- Click Create PDF/XPS on the right pane
- Select where you want to save the file and click Save
In Google Slides
- Click File
- Select Download
- Click one of the available formats
- Select where you want to save the file and click Save
Alternatively, you can turn your PPT files into PDFs via free online PDF converter platforms like SodaPDF, PDFChef Converter, and Smallpdf. These PDF editor tools also help in converting documents, spreadsheets, and images to PDF without overly compressing the files and reducing quality.
Conclusion
While the content of your presentation matters most, don’t sleep on the significance of how you’ve packaged your presentation. In today’s guide, we’ve offered you several tips on how to create the most eye-pleasing presentation designs that will captivate your audience and leave a deeper, longer-lasting impression.
_
About the author: Andi K. Nasruddin is a lecturer at Ujung Pandang State Polytechnic. He teaches business communication, financial management, strategic management, and more when he’s not busy screaming at his TV while watching NBA games.